Best Ways to Reverse Tether Internet Connection on Android Phone
The process of using mobile’s internet on pc is called reverse tethering. Most people depend on broadband connections instead of mobile data connection for working through internet or just for internet surfing step 7: click on wi-fi, this option will allow you to share your ethernet connection with other devices – in this case, your android. Step 9: enter a network you can now connect your wi-fi enabled devices to your pc’s internet connection. You can use this software to boost your wi-fi range or as a bridge to save money i hope this article helped you. Follow the above methods and enjoy reverse tethering. . …
Most of us are familiar with the term tethering. The process of using mobile’s internet on PC is called tethering.
So it is obvious that the reverse process is called reverse tethering.
Most of the people depend on broadband connections instead of mobile data connection for working through internet or just for internet surfing because broadband connection is available at a lower price than the mobile internet as well as it offers relatively high speed.
Sometimes connecting your mobile data to your laptop or PC is also problematic.
What is Reverse Tethering?
As the name suggests, Reverse Tethering is exactly opposite of tethering. Reverse tethering helps you to turn your laptop into a Wi-Fi hotspot or share its internet connection with your android phone.
It’s a good idea to use your computer’s internet connection on a smartphone. But it is a headache to use if the broadband is not wireless. Take a look on the below methods to reverse tether internet connection on Android phone.
Best ways to reverse tether internet connection
1. Sharing a LAN connection over Wi-Fi
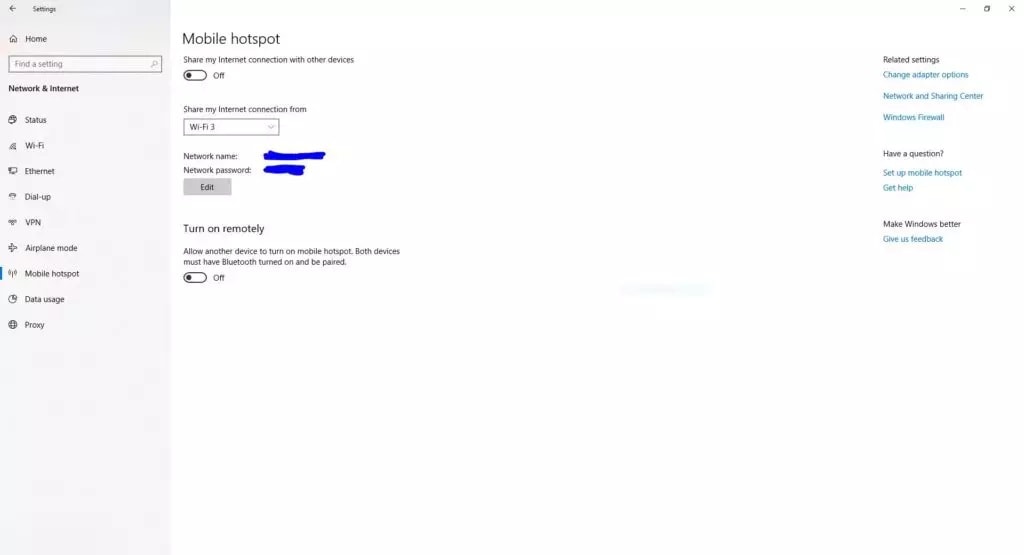
The method of sharing a LAN connection is very simple, it takes a very little time as well as it doesn’t require high level technical skills. The latest version of windows 10 has made it much easier to create a hotspot and share the internet connection with other devices Wi-Fi. The steps are too much easy and you can get it within a few minutes.
Step 1:
First go to windows settings, and then go to Network and Internet, then go for mobile hotspot.
Step 2:
Select the internet connection that you want to share.
Step 3:
Set Wi-Fi network name (SSID) and password by clicking on edit.
Step 4:
If you are using a Bluetooth device to remotely enable the mobile hotspot then turn on the last option.
Step 5:
After you have done with the settings you can turn on the mobile hotspot and get your internet connection connected on other Wi-Fi enabled device.
2. Enabling a Wi-Fi hotspot on Mac
Step 1:
With an Ethernet cable, connect your mac to your router. On a mac, you can’t share a wireless network while also using a wireless network.
Step 2:
Open the Apple menu by clicking on the apple-shaped icon and then click on System Preferences from the drop down menu of Apple menu icon.
Step 3:
Click on Sharing option. Under sharing select Internet Sharing. Now you can see the internet sharing settings on the right side of the page.
Step 4:
On the right side of the page, click on the Share your connection from box.
Step 5:
From the drop down menu click Ethernet.
Step 6:
Click on the To computers using box which is below the Share your connection from box.
Step 7:
Click on Wi-Fi, this option will allow you to share your Ethernet connection over Wi-Fi with other devices – in this case, your Android.
Step 8:
At the bottom of the page, click on Wi-Fi options.
Step 9:
Enter a network name and password. The network name and password you enter here are the credentials you will use to access the hotspot on your Android. Then click OK and this will save your changes.
Step 10:
Click on the box left of Internet Sharing, this will place a checkmark in the box, indicating that your hotspot is now active and you can proceed with connecting your phone.
3. Sharing a LAN connection over Wi-Fi (Connectify)
You can create your own customizable hotspot network using the network and following steps, with which you can share your internet connection with friends and family over Wi-Fi, without the need for a Wi-Fi router. The pro version of the Connectify hotspot is more specific. If you don’t have the latest version of windows then you need the Connectify hotspot software on the host device.
Look at the following steps given below
Step 1:
Download the latest version of the Connectify hotspot pro on your computer.
Step 2:
Always make sure that your laptop /PC has native Wi-Fi support or you can use a Wi-Fi dongle. A data card will also work in case you want to share its internet instead of wired LAN.
Step 3:
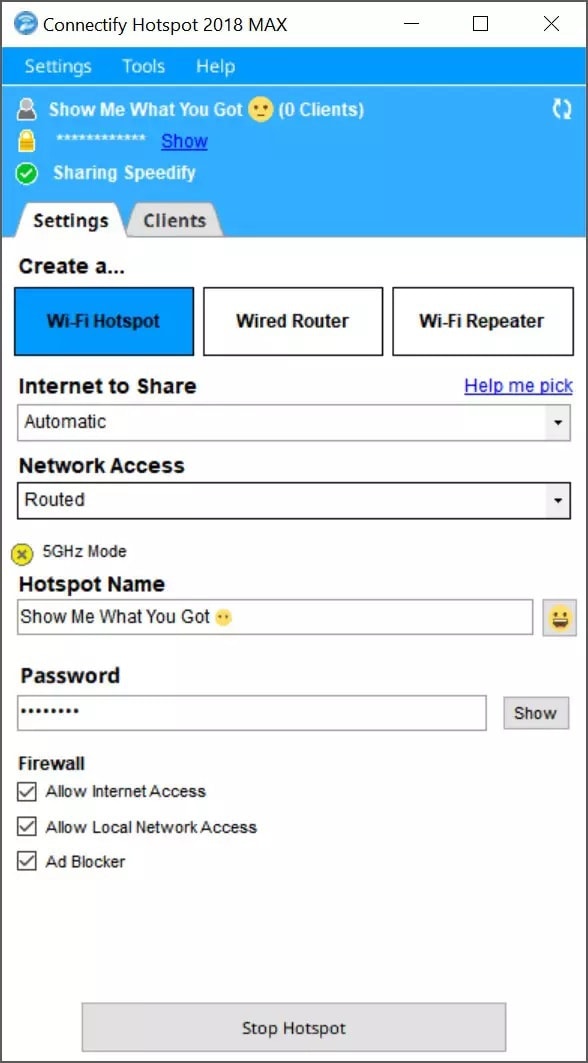
Run the Connectify hotspot app and select your LAN network adapter as the Internet to Share. You can also select other kinds of Wi-Fi, 4G networks and VPN virtual adapters if you want to share your internet connection with them.
Step 4:
After that, give your hotspot network a name (SSID) and a strong password.
Step 5:
Next, you can make use of the Adblocker to save your data bandwidth and to prevent annoying pop-ups everywhere.
Step 6:
Now press on the Start Hotspot button to create your own personal network using your PC’s LAN or data card connection. You can now able to connect your Wi-Fi enabled devices such as PC’s, laptops, smartphones and game consoles to your PC’s internet connection. You can also use this software to boost your Wi-Fi range or as a Wi-Fi bridge to save money at certain places while traveling.
4. Using Android Reverse tethering package
If you are facing problems to use the above mentioned methods then you can try this most complex one. It will require a rooted android phone and some android knowledge.
Step 1:
First you have to download Universal Naked Drivers and Android Reverse Tethering Package.
Step 2:
Then go to settings, from there go to Developers option and then tick USB Debugging option to enable USB debugging on your device.
If you do not find developers option on your device, then go to Settings, next About and then tap on build number for about 7 times, and a toast notification will show that you are now a developer and can tweak with the developer options.
Step 3:
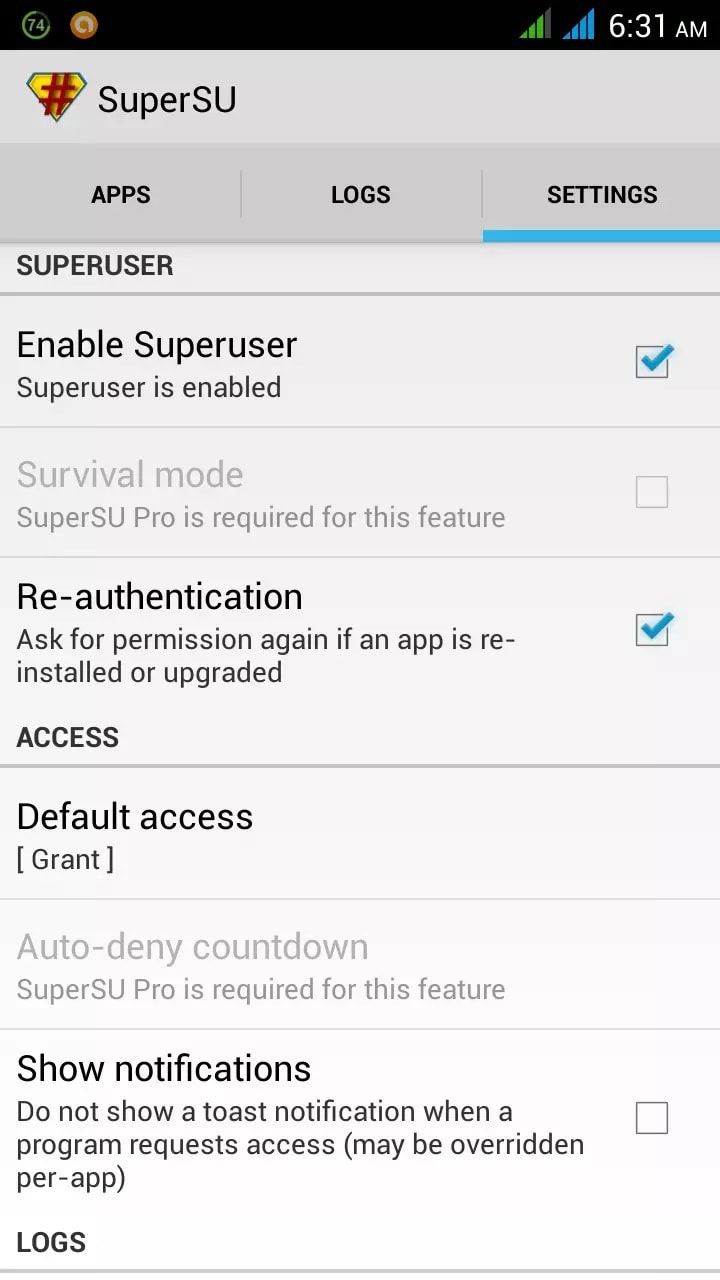
Then open the SuperSU application from app drawer.
Step 4:
Go to SuperSU settings, tap on Access and then uncheck show notifications.
Step 5:
Make sure that you already have the Universal Naked drivers installed on your PC. You need to extract the Android Reverse Tethering Package on your PC.
Step 6:
After that, copy all the three APK’s in it to your phone’s SD card or internal storage and install all three applications.
Step 7:
Open the Xposed Installer application and then click on the Install / update button. In this time you will be asked to reboot your phone.
Step 8:
Go to Xposed Installer after rebooting and navigate through modules and check Hack Connectivity Service. Complete this step if your phone has Android version greater than 4.x.x otherwise skip it. Then reboot your phone.
Step 9:
Open USB Tunnel from App drawer after rebooting and click on start service.
Step 10:
Navigate to the location where you have extracted the reverse tethering package in your computer.
Step 11:
Connect your phone to your PC. Make sure that USB Debugging is on and you have granted the permissions by clicking on Allow on the pop-up.
Step 12:
Click on Android Tool.exe option.
Step 13:
Select your device and click on connect and now you have completed the setup process.
Step 14:
Open up the android browser and start.
Conclusion
I hope this article helped you.
Follow the above methods and enjoy Reverse Tethering.

Hello! My name is Lucas, and I am the creator of ursuperb.com. I’ve been writing about technology for almost 10 years now, and I love talking about tech news, reviews, and tutorials. I’m currently living in San Francisco, CA, and I’ve been blogging professionally since 2012. I love what I do, and I really enjoy interacting with people online. I believe in creating positive change for humanity, and I try to inspire others to do the same. You can read more about me here.
My favorite thing about Ursuperb is that I’m able to provide useful information to anyone interested in learning more about technology. No matter what kind of tech you use (computer, smartphone, tablet), you will definitely find something interesting to read on Ursuperb. So, let’s take a look at some of the topics I cover on Ursuperb:
1) How To Build An Online Business With WordPress
2) How To Make Money On YouTube Using AdSense
3) What Is Google Analytics? And Why Should You Use It?
4) How To Make Your Own Website Design Software For Free